Setup ADB and Fastboot on Windows
Setup ADB and Fastboot with 15 Seconds ADB Installer
Today, we have come with 2 handy tools that let you set up ADB and Fastboot on a Windows PC very easily in a matter of seconds. XDA member Snoop05 has released a very handy tool called ’15 seconds ADB Installer’ to make the job very easy. It claims to install ADB, fastboot and USB drivers within 15 seconds.

Download 15 seconds ADB Installer.exe
Just download the tool from above and run it on your Windows computer as an administrator. Respond to the on-screen options as per your requirements and you’ll be good to go.
Setup ADB and Fastboot with Minimal ADB and Fastboot Tool
Besides 15 seconds ADB Installer, there is yet another easy way to get ADB and Fastboot working without involving into the traditional complicated method. This tool is called Minimal ADB and Fastboot and has been developed by shimp208 from XDA. The tool is very easy to use. All you have to do is to download and install it on your computer and it will set up ADB and fastboot on your computer automatically.
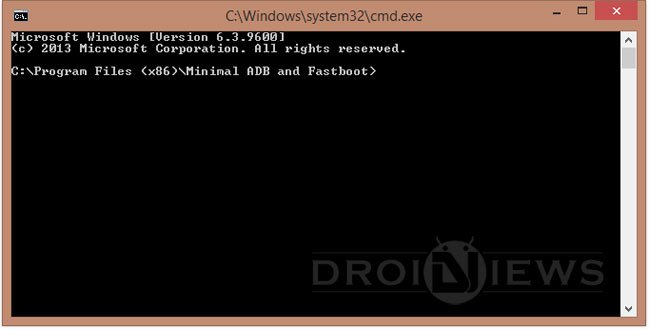
Having installed it, you get a shortcut on your desktop for launching Minimal ADB and Fastboot quickly. Suppose you need to copy a .img file together with ADB and fastboot files, go to C:/ Program Files/ adb folder.
Download Latest Minimal ADB and Fastboot Tool
minimal-adb-setup-1.4.3.exe | Mirror
If the above version doesn’t work, download this:
minimal-adb-setup-1.3.exe | Mirror
source: xda
Method 2
- Download the Android SDK package for Windows [android-sdk_r21.1-windows.zip]
- Extract the zip files to your C:\ drive. Now you have a folder android-sdk-linux
- Double click on SDK Manager to initiate the SDK manager. You shall perceive the following window.
- Make sure everything is un-ticked. Now select Android SDK Platform-tools and install it.
- During the next window, you will be prompted. Accept the license and click on Install.
- When the installation is complete, close the window.
- The SDK manager has now downloaded the platform-tools successfully, which certainly includes our prior ADB.
- The next step is to define the path where ADB is present.
- Go to C:\android-sdk-windows\platform-tools and take note of this path.
- Go to desktop, right click on Computer and select Properties.
- On the left pane, click on Advanced System Settings and a new window shall open.
- Select Environment Variables under Advanced tab.
- Select Path variable and click edit.
- Now add the path we noted in step #9 to the variable value and hit OK.
- Confirm and apply all the changes.
- To confirm that ADB has been configured properly, open CMD window and type in:adb
- You now have ADB successfully installed and configured on your Windows machine.
Feel free to leave a comment below.