How to create a Google form
Google Forms is a tool that allows collecting information from users via a personalized survey or quiz. The information is then collected and automatically connected to a spreadsheet. The spreadsheet is populated with the survey and quiz responses. Google Forms provides an easy way to create and send a basic business form in minutes. Google Forms gives users an easy way to create a survey that contains as many questions as they need to ask, in a variety of styles. From planning an event to getting anonymous answers to tough questions, there are a ton of useful things you can do with Google Forms.
While Google Forms surveys are typically sent and answered via email, you can also have people fill in answers on a web page, embed the questionnaire on a site and share it via social media. Here are our step-by-step instructions on how to create a survey with Google Forms.
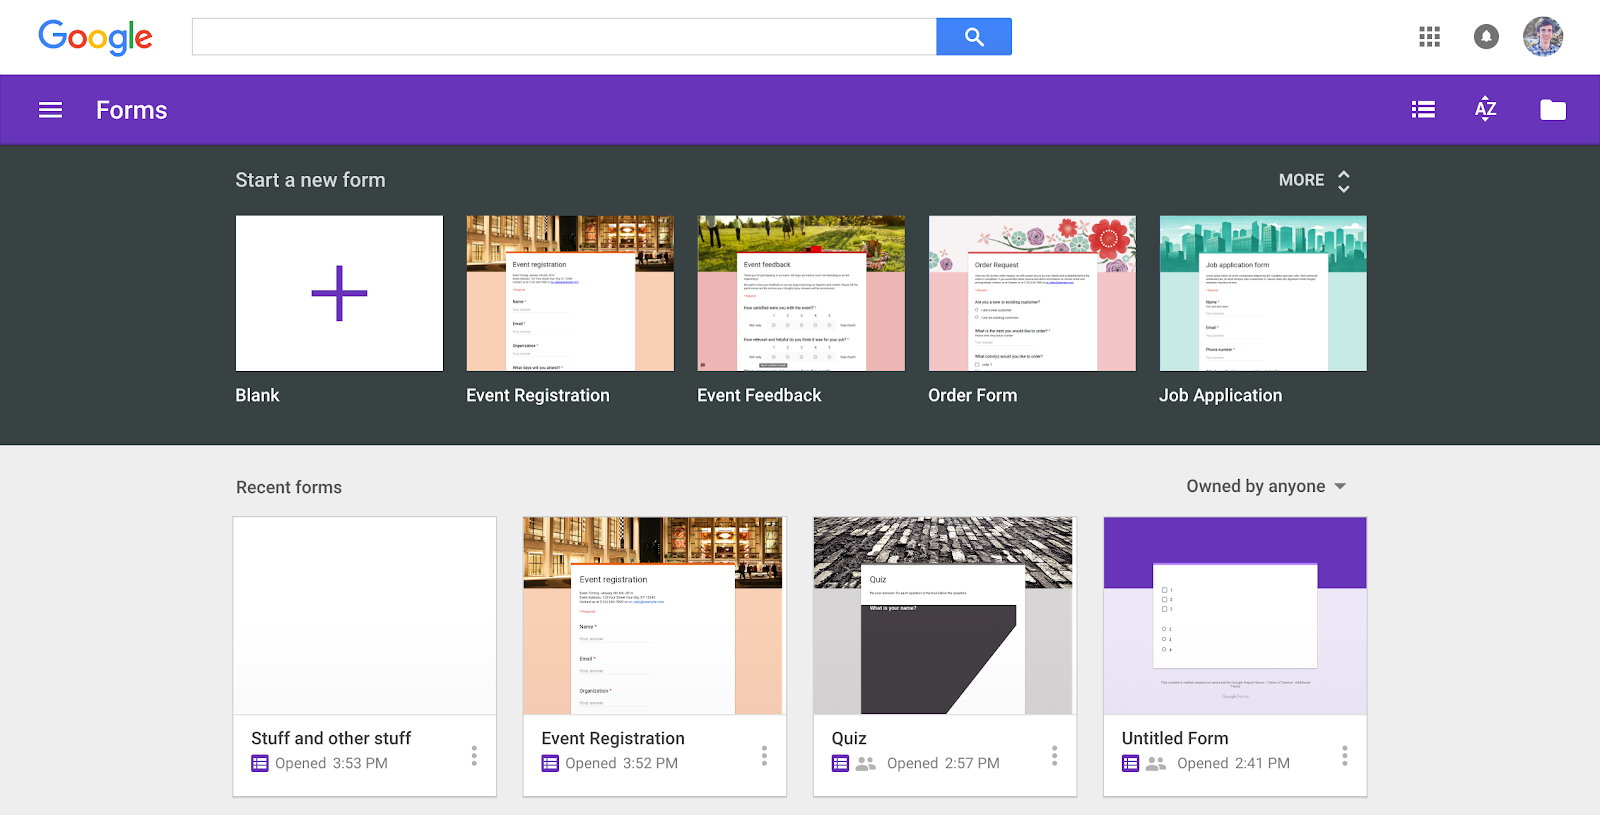
1. Type https://docs.google.com/forms/ on your browser, send and click Blank. Google Forms has a number of pre-made templates to choose from, and you can view them all by clicking.
Google Forms gives you a handful of options for asking questions. You can also decorate your survey to fit its theme.
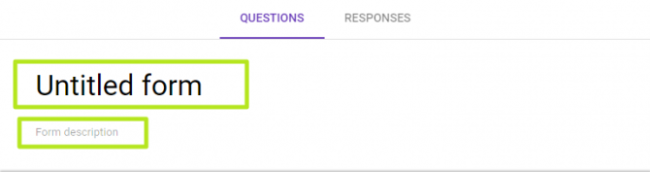
2. Name your survey. You can also add a description. If you want to name the Google Form for your own reference, click Untitled form in the top left corner to edit.
Select an option for how the question will be answered. For all options except for Short answer, Paragraph, Date and Time, you’ll have to write in options for answers.
- Short answers and Paragraph give recipients a blank field to fill in.
- Multiple choice lets users select one answer from a series of options, while Checkboxes allows users to select multiple answers.
- Dropdown gives recipients a field to click that reveals a menu they will select an answer from.
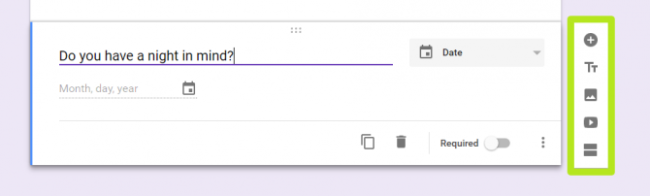
3. Click the side menu icons to add to your survey.
- The Plus button adds another question.
- The Tt button lets you add a section title and description.
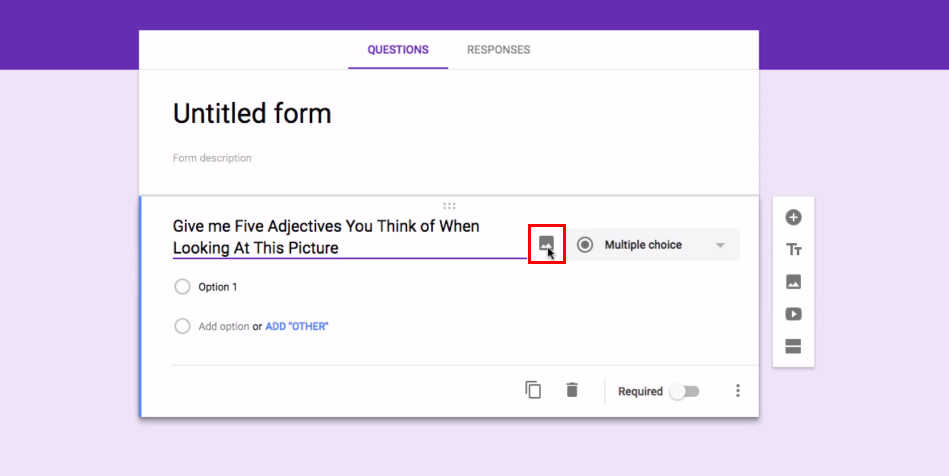
- The Photo and Video buttons allow you to illustrate your survey.
- The two rectangles icon allows you to break your survey up by sections.
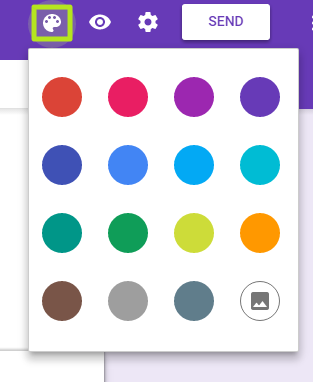
4. Click the Palette icon to change your survey’s color or add a photo to the header.
5. Click the Eye icon to preview your survey.

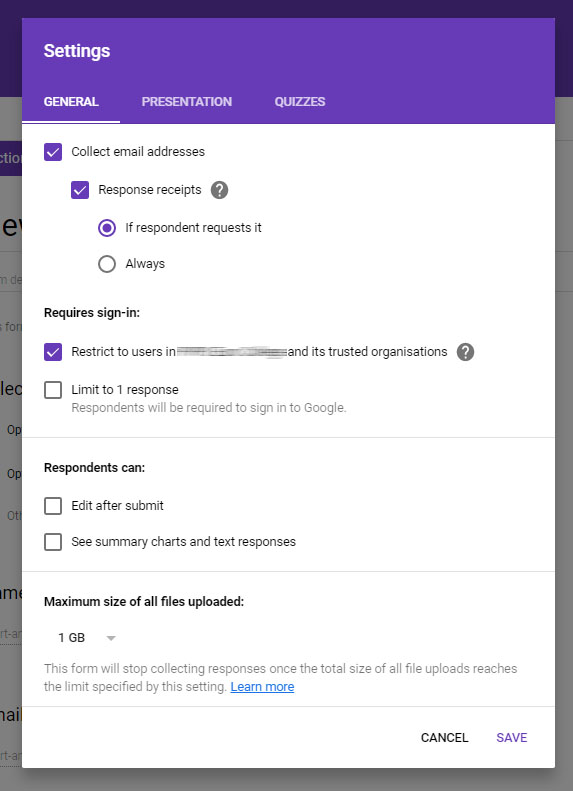
6. Click the Gear icon to access survey settings.
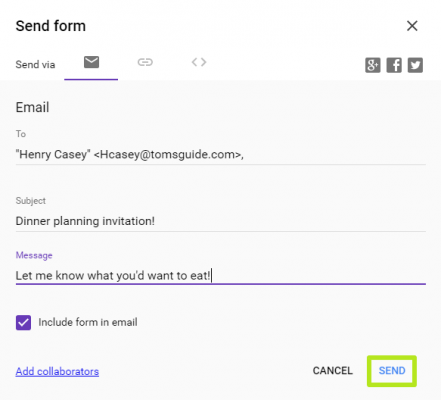
7. Click Send.

8. Enter recipients. Check off “Include form in email” if you want your respondents to answer questions from their email. Not all clients support this. Outlook, for example, will make you click a button to open the survey in a browser.

9. Fill in a subject line and message. People typically need a little coaxing to answer a survey.

10. Click Send. If you want to share the survey via a hyperlink, it can be found by clicking the link icon. To get code for embedding the survey on a website click the <> icon. You can also share the survey via social media with the Google+, Facebook and Twitter buttons.
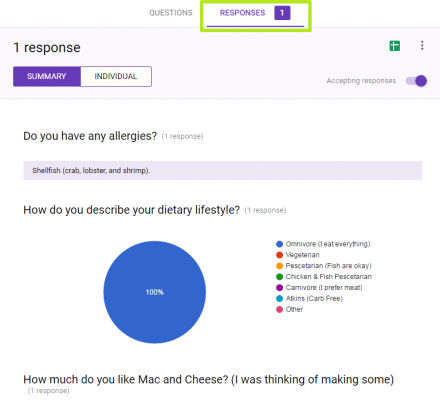
To see what your recipients said, click on Responses.
With our step-by-step instructions above you should be able to create Google Form without stress. Feel free to tell us in the comment section if you are experiencing any difficulties.